For a while, I was obsessed with ombrè rocks! I love how beautiful they look like. So here is an easy step by step for you!
SUPPLIES (affiliate links provided for your convenience. I'm sharing the ones with best prices):
- Spray Paint Primer
- Plastic paint palette
- Paint brush
- Acrylic Paint Set
- Spray Finish Matte
- Permanent Marker
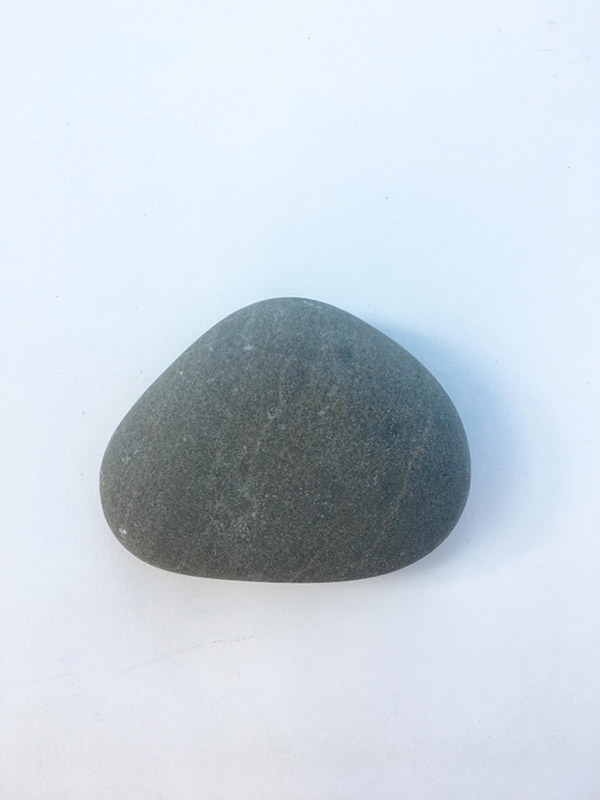
Step 1: First thing: collect rocks. I find mine outside in nature but you can also find them at local home improvement stores, in the gardening section, or you can even purchase rocks online.
Step 2Clean your rock with soap and water to remove any dirt or wax that might keep the paint from adhering properly.

Step 3: Start by preparing your rock with a coat of primer.
Let dry completely before the next step.
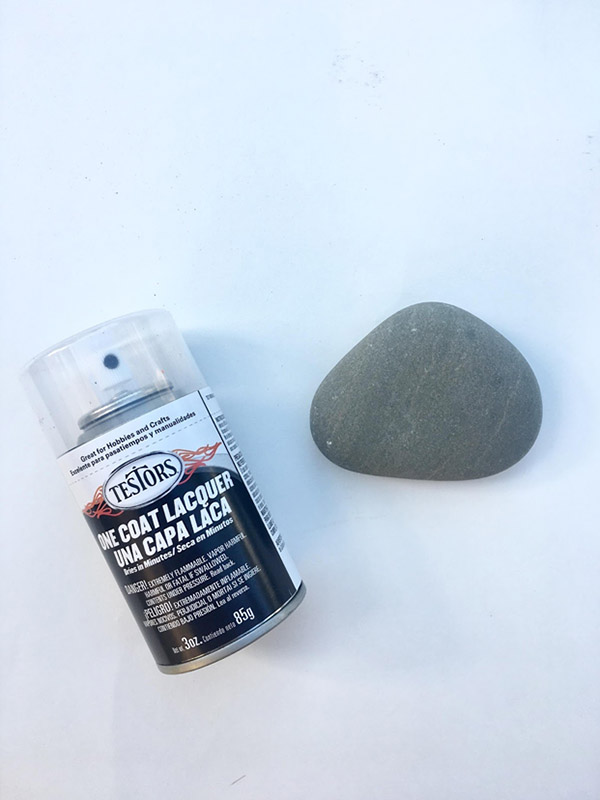
Let dry completely before the next step.

Step 4: I decided to use three colors for the gradient of ombré effect. I chose Sunshine, Blue Fog, and Island Breeze.
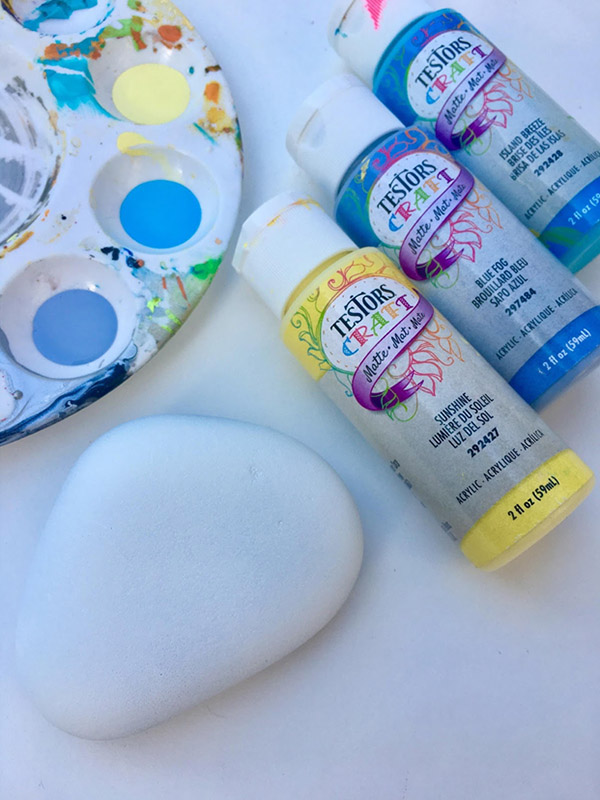

Step 5
Paint three vertical stripes, one for each color. Do not let the colors touch one another. Let dry.
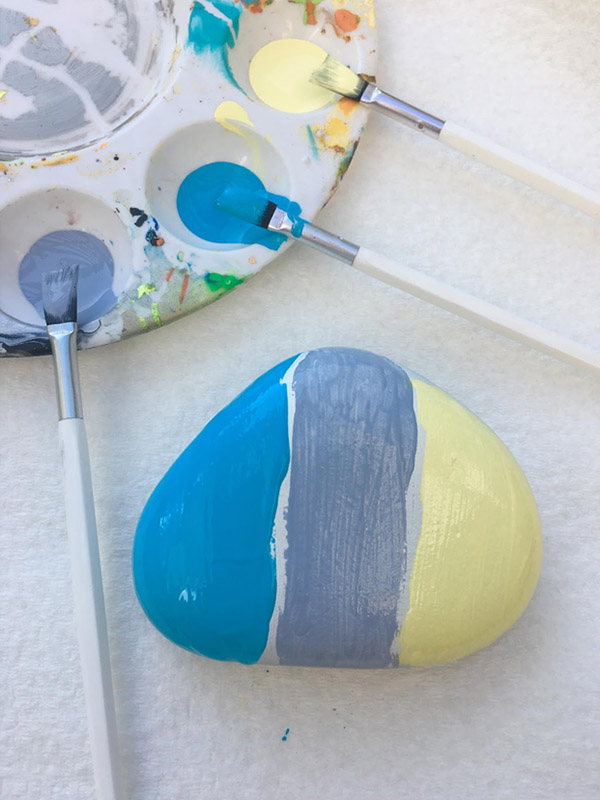
Paint three vertical stripes, one for each color. Do not let the colors touch one another. Let dry.

Step 6
For the second layer, fill in the small gap between the colors. Lightly dip your paintbrushes into each color and carefully tap the brush horizontally, to start blending the colors together. Repeat with each color. Let dry.
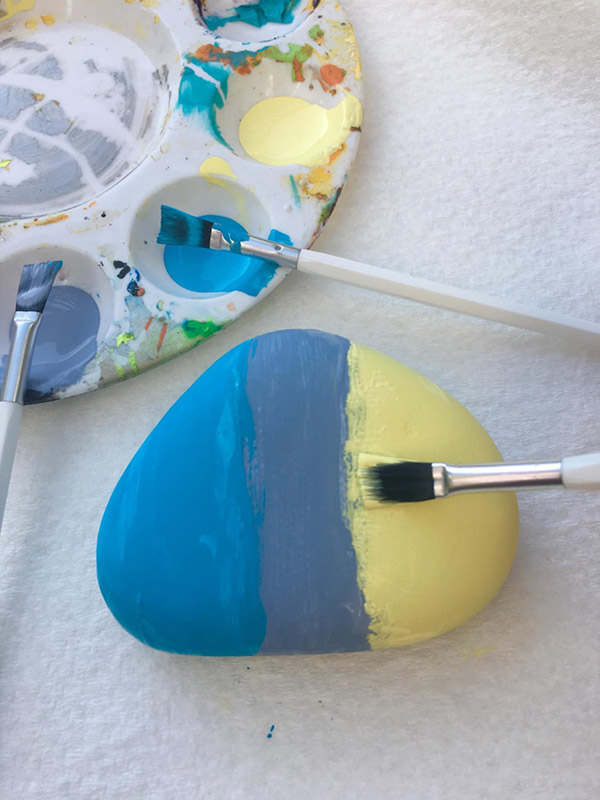
For the second layer, fill in the small gap between the colors. Lightly dip your paintbrushes into each color and carefully tap the brush horizontally, to start blending the colors together. Repeat with each color. Let dry.

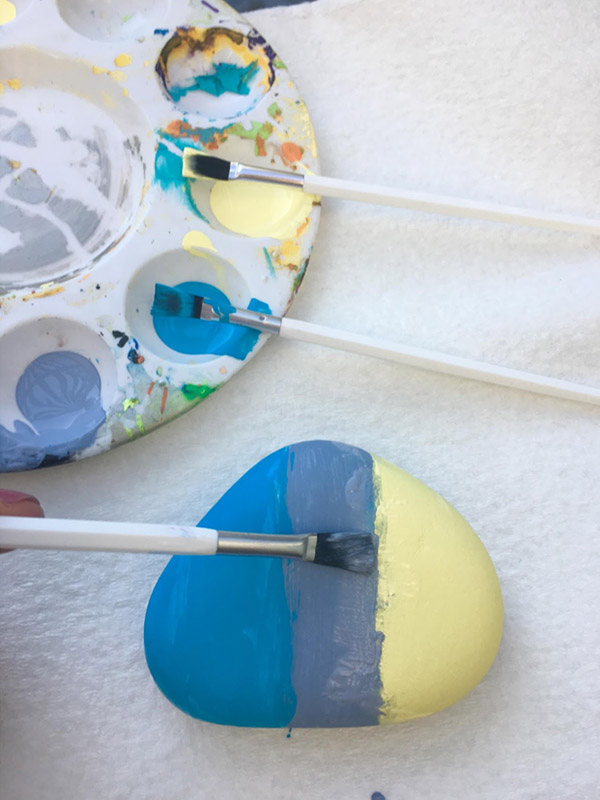
Step 7
When working on the third layer, brush each color vertically down and up to slowly melt the colors even more. Let dry.
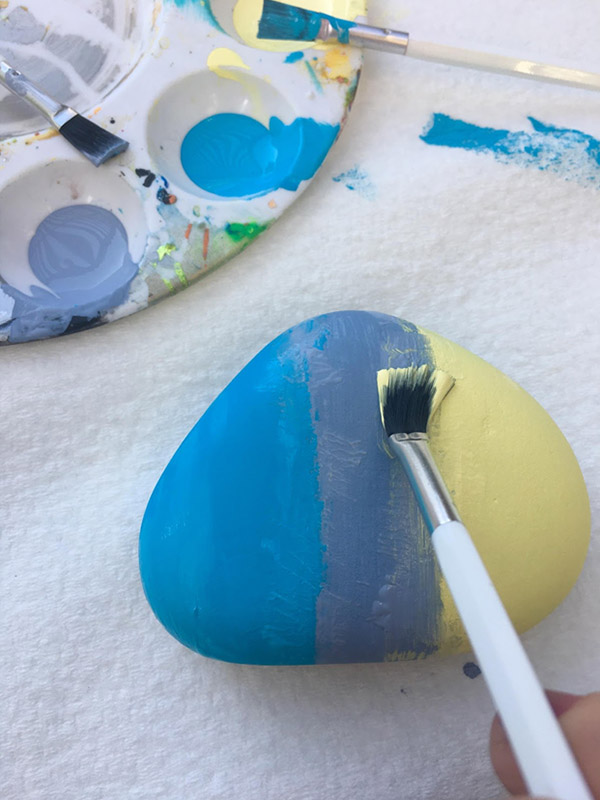
When working on the third layer, brush each color vertically down and up to slowly melt the colors even more. Let dry.

Step 8
To keep melting the colors smoothly, repeat steps 6 and 7 until you achieve the “look” that you like.
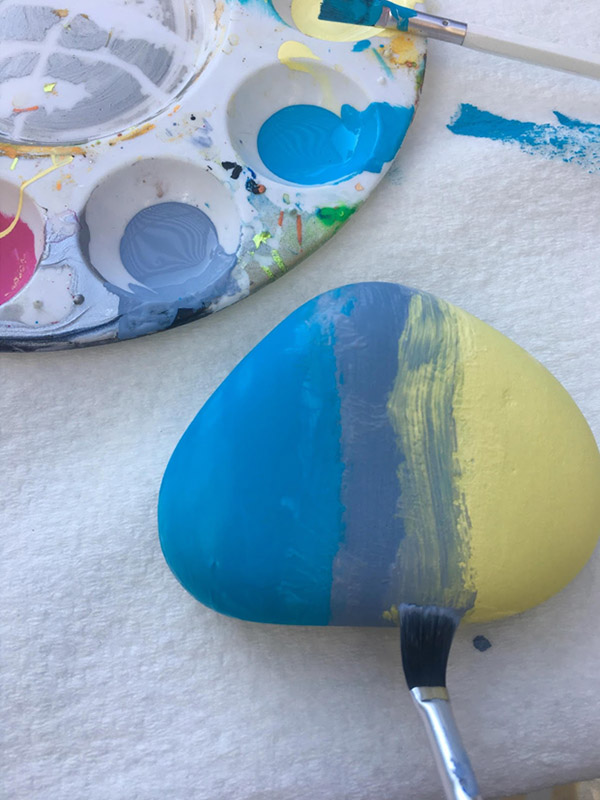
To keep melting the colors smoothly, repeat steps 6 and 7 until you achieve the “look” that you like.

Step 9
When you are done with colors, let the rock dry completely.
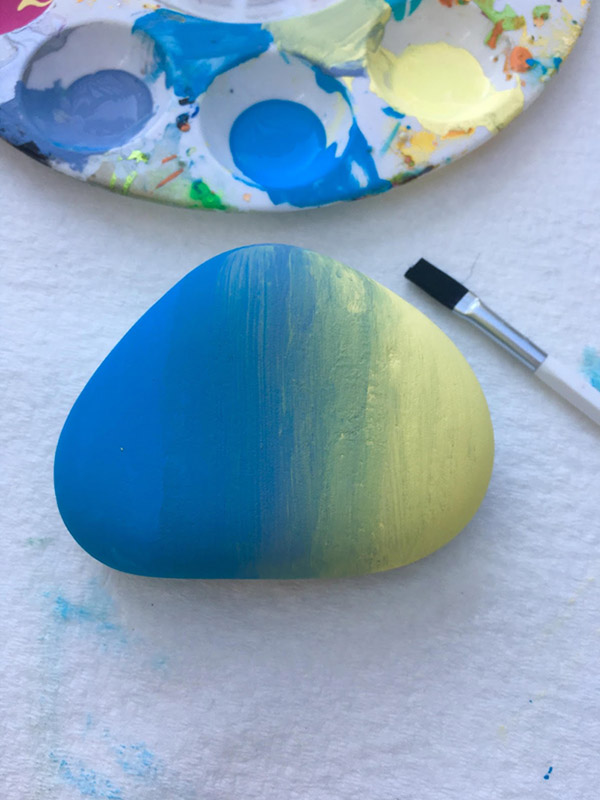
When you are done with colors, let the rock dry completely.

Step 10
To write on the rock, first use a very soft pencil so you can erase if necessary. I like 4B pencils. Write it lightly, so it will not be hard to erase later.
To write on the rock, first use a very soft pencil so you can erase if necessary. I like 4B pencils. Write it lightly, so it will not be hard to erase later.
Step 11
Cover the words with permanent black marker. Erase any visible pencil line.
Let it dry. Give it a shiny finish with the acrylic lacquer. This will protect them from fading and smudging.
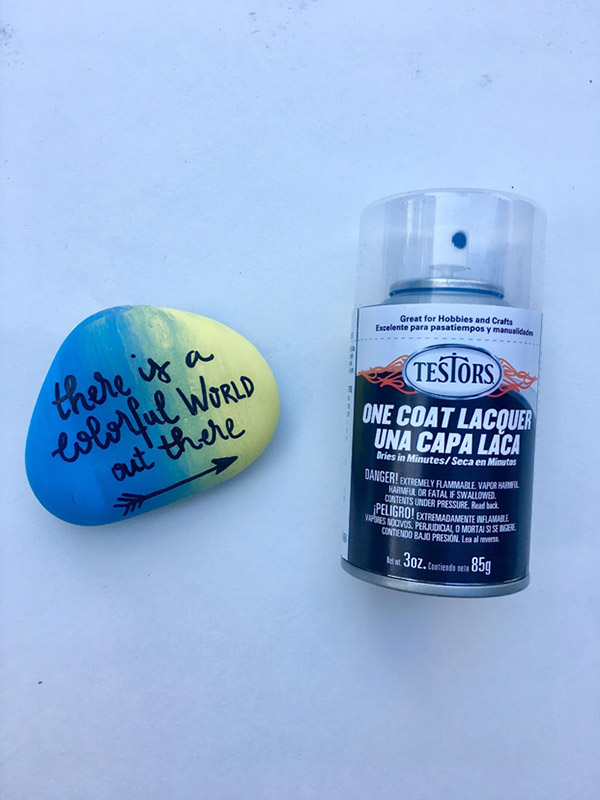
Cover the words with permanent black marker. Erase any visible pencil line.
Let it dry. Give it a shiny finish with the acrylic lacquer. This will protect them from fading and smudging.

Instagram: The Word Rocks Project.
